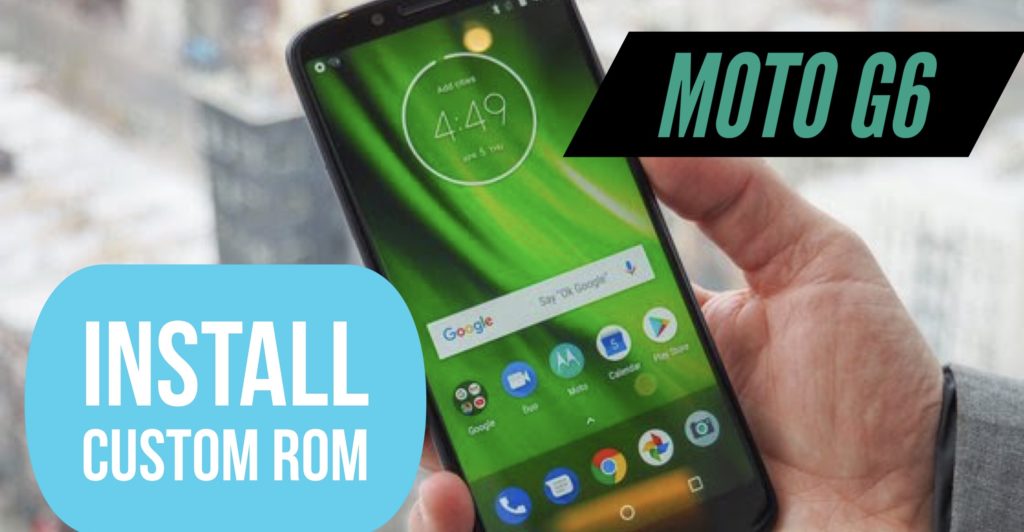
Install Custom Rom On all Moto G6 Devices | CWM & TWRP | G6 Play & G6 Plus
In this article, I will show you step by step, How to install custom Rom on Moto G6, Moto G6 Play, and the Moto G6 Plus devices. Furthermore, there are lots and lots of benefits of installing custom Rom on Moto devices. Next, we will also cover few topics on custom Rom. Let’s start.
About Moto G6
Moto G6 is newly launched Motorola smartphone device. Here are some key features and specs of the all new Motorola Moto G6.
- It has 5.7 inch IPS LCD Capacitive touch display with a resolution of 1080 by 2160 pixels, which gives an output of 424 ppi.
- Corning Gorilla Glass 3. So, Moto G6 is scratch resistant.
- Android 8.0 Oreo out of the box of G6.
- Octa-Core Qualcomm Snapdragon 450 chip.
- Moto G6 comes with two storage options – 64 GB storage and 4GB Ram, 32 GB storage and 3GB Ram.
- A dual rear camera of 12 MP + 5 MP. Front camera on Moto G6 is 8 MP.
- Fingerprint scanner.
- The battery on Moto G6 is a non-removable 3000 Mah capacity.
So these were key features of the all-new Moto G6 device. Let’s take a look at the Moto G6 Play.
About Moto G6 Play
Now, the new play series device from Motorola is the Moto G6 Play. Probably this is the smartphone from Motorola on G6 series that will sell the most. So, let us look at some of the key features of the all-new mid-ranger from Motorola.
- The display on G6 Play is 5.7 inch IPS LCD capacitive touch and a resolution of 720 By 1440 pixels. That gives a total of 282 PPI.
- Corning Gorilla Glass.
- Android Oreo as stock.
- Qualcomm Snapdragon 430 – Octa Core 1.4 GHz.
- FOR USA – Moto G6 Play comes with Snapdragon 427 Quad Core 1.4 GHz.
- Moto G6 Play has two options of storage ie, 32 GB storage and 3 GB Ram or 16 GB storage and 2 GB Ram.
- The rear camera on G6 Play is 13 MP shooter. The front comes with an 8 MP selfie shooter.
- A fingerprint scanner on the back of the device.
- The battery on Moto G6 Play is higher than the Moto G6 ie, 4000 Mah.
So above were some of the main and key features of Moto G6 Play. Now, let’s look at the Moto G6 Plus smartphone.
About Moto G6 Plus
Moto G6 Plus is the bigger version in the G6 series of smartphones. But the plus variant sits perfectly between the Moto G6 and Moto G6 Play models. Let’s look at some of the key features and specs of the all-new Moto G6 Plus smartphone.
- The display on Moto G6 Plus s slightly larger, 5.9 inch IPS LCD display with a resolution of 1080 by 2160 pixels. A total output of 409 PPI.
- Corning Gorilla Glass 3 for scratch resistance.
- Moto G6 Plus comes with Android 8.0 Oreo.
- Under the hood, Qualcomm Snapdragon 630 chipset. Octa-core 2.2 GHz.
- Storage options on G6 Plus include 128 GB storage and 6 GB Ram or 64 GB storage and 4 GB Ram.
- G6 Plus supports a dual rear camera of 12 MP + 5 MP. Front camera is an 8 MP shooter.
- The fingerprint scanner is on the front.
- Moto G6 Plus comes with non-removable 3200 mah battery.
So, above were some of the key features of Moto G6 Plus smartphone and Now let’s dive into Installation of Custom Roms on Moto G6 devices.
What is Custom Rom?
Custom Roms are basically firmware which is developed by various community developers in order to put in extra features and benefits in the smartphone. There are various different types of Roms that can be installed on the smartphone.
Advantages or Pro’s of installing custom Rom on Moto G6 devices
Here are some of the major reasons you should install custom Rom on your Moto devices –
- You will be able to experience new user interface after you install a custom Rom. Rom such as MIUI will fully change the way you will use your Moto G6.
- You will be benefitted with extra features.
- Your phone will get constant updates, as developers constantly are working to improve the current version.
- You can update to the latest Android version before Motorola provides it.
- The phone will no more be laggy whatsoever.
Disadvantages or Con’s of installing custom Rom on Moto G6 devices
Some of the disadvantages of installing custom Rom –
- It will void your warranty. If you wish to install any type of custom Rom on your smartphone and if anything goes wrong, then the manufacturer is not responsible for it.
- You may brick your phone or your phone may not power on thereafter.
- The phone may become more sluggish and laggy if you install non-optimized custom Rom on Moto G6 devices.
Now let’s see how you can install custom Rom on your Moto G6, Moto G6 Play, and Moto G6 Plus.
How to Install Custom Rom On Moto G6 or Moto G6 Play or Moto G6 Plus
Before starting, please do note that all the steps are exactly similar to all the three devices ie, Moto G6, G6 Plus, and G6 Play.
Points before installing custom Rom
- The phone bootloader must be unlocked before installing custom Rom.
- Also, the phone must be rooted successfully.
- Next, your phone should have CWM or TWRP Recovery successfully installed in order to install custom, Rom.
If you have not Rooted or unlocked your device bootloader or had not install Recovery then this article will help you out – How to Root Moto G6
How to Install custom ROM on Moto G6, G6 Play, and G6 Plus with the help of CWM Recovery
Below is step by step guide how you can install custom Rom with the help of CWM recovery.
- First of all, make sure your phone is fully charged.
- Next, download the proper Zip file of the Rom which you want to install on your smartphone. You can find your favorite Rom through the web.
- Now, after you have successfully downloaded the custom Rom, put the file in the internal storage or the external storage of your phone.
- Finally, boot into CWM recovery.
- And, to boot into CWM recovery you need to turn your phone off. After your phone is switched off, press power button and volume down button together. Hence, you would now be booted into CWM recovery.
- Furthermore, you will see various options in the recovery mode and one important step is to backup your current firmware because if anything goes wrong while installing custom Rom, you can restore your phone.
- So now that you have taken a backup, we need to factory reset the phone before installing any sort of custom Rom. For that go to Wipe Data/ Factory Reset > Yes-Wipe all user data and wipe cache by going to Wipe Cache Partition > Yes-Wipe Cache.
- Now to install custom Rom on your Moto G6 or Moto G6 Plus or Moto g6 Play, go to Install Zip. Then choose Zip from SD card > now select your zip file from internal storage.
- Then, Select yes Install Zip File.
- Let the process happen and do not interrupt in between the process of installing custom Rom.
- Congratulations finally you have successfully installed custom Rom on your Moto G6 device.
Above method was based on CWM recovery, however, if you want to flash custom Rom on Moto G6 through TWRP recovery, then below are the steps given for the same.
How to Install custom Rom on Moto G6, G6 Play, and G6 Plus with the help of TWRP Recovery.
Let’s start step by step how to install custom Rom through TWRP recovery.
- First of all, do not forget to charge your phone fully so that your phone is not interrupted while processing.
- And now boot your phone into TWRP recovery. Switch off your phone and then press Power button and volume down button simultaneously.
- Before installing make sure to take proper backup of existing Rom as a result if something goes wrong, you can restore your current backup.
- Next, Go to Wipe – Swipe to factory reset.
- Go back and click install – and select your custom Rom Zip file. Then swipe to confirm Flash.
- Finally, press back and reboot your device.
- Hence, you have successfully installed custom Rom via TWRP recovery on your Moto G6 device.
I hope the above steps were clear enough 😀 And I hope you installed your custom Rom on Moto G6 or Moto G6 Play or Moto G6 Plus successfully. Do let me know in the comment section if you have encountered any issues while installing custom Rom on your device. Head on to Tech Droid Tips for more such Tips and Tricks.