How to Install TWRP Recovery on Motorola Moto G40 Fusion – Two METHODS!
Welcome, in this article I will demonstrate how to install TWRP Recovery on Moto G40 Fusion. So stay until the end of the article and with the help of step by step guide, install TWRP on your phone.
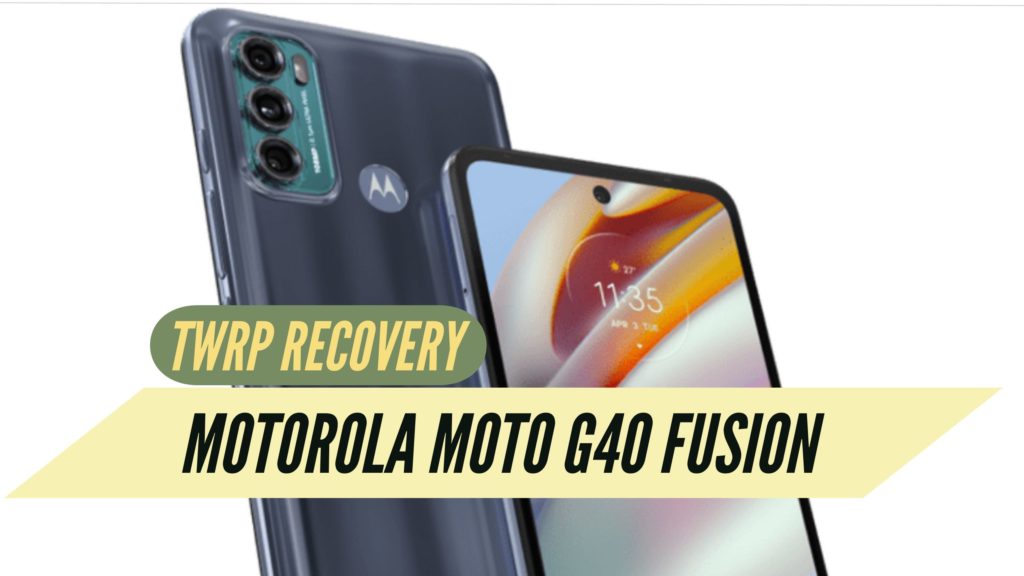
About Moto G40 Fusion
Here are some of the key features and specifications of the newly launched Moto G40 Fusion smartphone.
- Firstly, it has a 6.8 inches display with a resolution of 1080 by 2460 pixels.
- And Moto G40 Fusion also comes with Android 11
- And under the hood, the phone has a Snapdragon 732G chipset.
- The Phone also comes with 4/6GB GB Ram and 64/128 GB Storage.
- Furthermore, the camera sensor is – 64+8+2 triple rear camera and 16 MP front shooter.
- Finally, the battery on the phone is a non-removable 6000 mAh.
MUST-READ – Various Issues on the Moto G40 Fusion & How to Fix Them
What is TWRP Recovery?
TWRP or TeamWin Recovery Project is a custom recovery project and is flashable on Android smartphones. TWRP recovery, when installed on a smartphone over stock recovery, can provide more features. So, now let’s see about Moto G40 Fusion.
Advantages of Installing TWRP Recovery on the Moto G40 Fusion?
There are quite a few benefits of installing TWRP on Moto G40 Fusion. Here are some of them :
- Firstly, you can root your phone.
- And also install ZIP files and custom Roms on the phone.
- You can wipe cache and reset your smartphone.
- And take a backup of your current data and restore it whenever you want to on the Moto G40 Fusion.
Furthermore, let’s now take a look at some of the disadvantages of installing TWRP recovery.
Disadvantages of Installing TWRP Recovery on the Moto G40 Fusion
Below are some of the cons of TWRP recovery which you should keep in mind before installing on your Moto G40 Fusion.
- First of all, it will void your warranty.
- And you may brick your Phone if you do not follow the steps correctly.
- Also, the user will not be able to get OTA updates anymore on the device.
- Now that you have read some of the Pros and cons of TWRP recovery on the Moto G40 Fusion, let’s start with the installation procedure.
Let’s Install TWRP Recovery on the Moto G40 Fusion
Prerequisite
Before starting the installation process on the Moto G40 Fusion, do keep the following things in mind.
- First of all, make sure to charge your phone fully.
- And also get the certified USB cable by the manufacturer.
- Before installing, unlock the bootloader on the Moto G40 Fusion phone.
- We TechDroidTips, do not take any responsibility if anything goes wrong.
- After installation of Custom Recovery, also, read. How to Root Moto G40 Fusion
TWRP Recovery on Moto G40 Fusion: Method 1
- First of all, download the TWRP recovery image of the Moto G40 Fusion.
- And rename it as TWRP.img
- Also, download appropriate USB drivers of the Moto G40 Fusion and install them on the PC.
- Reminder, Unlocking Bootloader is an important step before you install TWRP recovery. It is not recommended to install TWRP recovery before unlocking the bootloader.
- Now, set up ADB and Fastboot on your PC. To do that download ADB here.
Install procedure For ADB Fastboot :
1. Launch it That Require administrator privileges.
2. Click Yes to install ADB and Fastboot or No to not.
3. Press Yes to install ADB system wide or No for the current user only
4. Click Yes to install Drivers or No to skip
5. Continue the Driver installation
6. 15 seconds passed – it will finish the process
- And now open the folder – “TWRP.img“
- Furthermore, open a command window in the folder itself. To do that, Shift + Right-click on any empty space and then select open command window.
- Now, connect your Moto G40 Fusion to your PC.
- And, boot your Moto G40 Fusion device into Fastboot mode. To do that type the following code in the command window
adb reboot bootloader
Now the device will boot into the Fastboot mode. After that type the following code –
fastboot flash recovery twrp-2.8.x.x-xxx.img.
- And do replace TWRP.img above with the name of your TWRP recovery image file.
- Now it will start flashing TWRP Recovery and after that type the following –
fastboot reboot
- This command will reboot your device.
- And congrats, finally you have successfully installed TWRP Recovery on the Moto G40 Fusion.
- UPDATE – The flash file for the Moto G40 Fusion will be added tomorrow.
NEXT – How to Install Custom ROM on Moto G40 Fusion
Install TWRP Recovery by Official App – Method 2
- Firstly, Download the Flashify app on the Moto G40 Fusion. The app is available to download from the play store.
- And open the app and furthermore you will see three options, “Boot Image” “Recovery Image” and “Zip File”.
- First, click on “Recovery Image” as soon as you click you will be able to see some more options.
- Next, click on download TWRP. You will also see an option of downloading CWM custom recovery too, but consider downloading TWRP custom recovery.
- And now it will download the TWRP file for the Moto G40 Fusion. And after the downloading finishes. Finally, click on “Yes install custom Recovery”.
- That’s it now sit back and relax till the recovery installs on the phone.
- Finally, congratulations you have successfully installed TWRP recovery on your Moto G40 Fusion. Now, you can install your favorite custom ROMs and zip files on the phone.
Related Article. Unroot Moto G40 Fusion and go back to stock ROM
In conclusion, do the steps carefully to install TWRP Recovery on the Moto G40 Fusion and also make sure to see the pre-requisite before starting the process. Before flashing TWRP Recovery, check for the supported model number. And you can also check for your device here on the TWRP website and make sure about the recovery file.